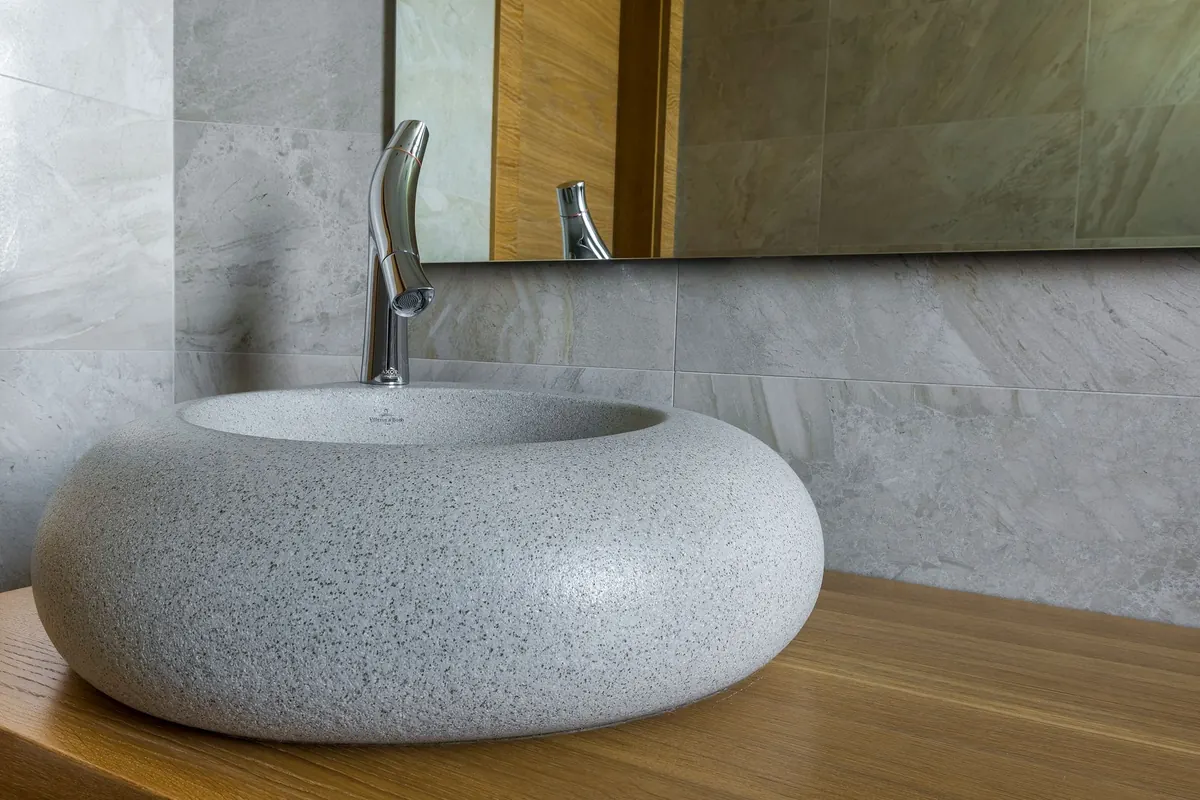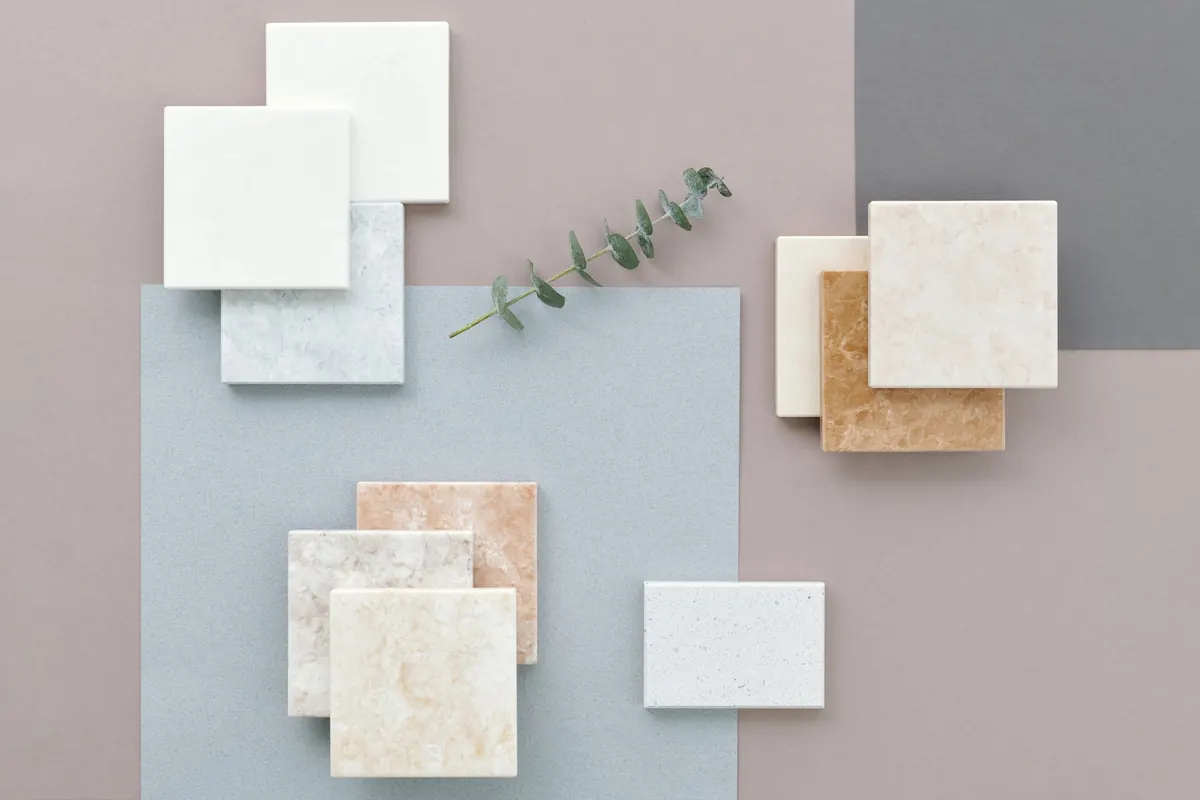
A stone sample is a persuasive object. Cut to a neat square and polished to a soft sheen, it looks calmer, more even and more forgiving than the slab it came from: no awkward cloudiness at the corner, no fissure wandering into the sink cut-out, no question of what happens when four pieces meet at a mitre. That is precisely why it deserves an hour of your attention before it becomes a line in a specification.
What follows is the sequence worth running through with the sample in your hand, in daylight, and with one question in mind: is this the right stone, and do I understand how it will behave once it is three metres long and installed?
1. Look at it in the light it will live in
Studio light flatters everything. A sample photographed under a bright, diffused setup will read two shades lighter and far more uniform than the same stone on a north-facing kitchen wall in February. Take the sample to the site if you can, or at least to a window, and look at it at different hours.
Then tilt it. Raking light — a phone torch held almost parallel to the surface — is the most honest inspector you have. It reveals filled fissures, resin patches, tiny pits, and the difference between a stone that has been honestly honed and one that has been skimmed. Wet a fingertip and draw a line across the face: the wet strip shows roughly how the colour will deepen under a polished or sealed finish, and any dry, chalky patches that stay pale are worth asking about.
2. Read the veining, not just the colour
A 100 mm offcut of a boldly veined marble tells you almost nothing. You are looking at a detail of a drawing you cannot yet see. Before you fall for the colour, ask for a photograph of the actual slab or bundle, with something for scale in the frame.
Check three things. Scale: will that dramatic vein be a single elegant gesture across a worktop, or a confusing scribble repeated six times? Direction: most veined stones have a grain. Decide early whether you are running veins vertically up a splashback, horizontally along a counter, or book-matching two slabs into a mirror — each decision changes the cutting plan and the wastage. Interruptions: look for the inclusions that will land badly, such as a mineral pocket exactly where the tap goes.
With quieter stones, the question is different. Uniformity is the promise, so hunt for the drift: patches of warmer or cooler tone, faint clouds, a slight green cast at one end. Those are the things a client will notice six months later.
3. Turn it over and measure it
The back of a sample is where suppliers keep the practical information. A mesh or fibreglass backing usually means a fragile stone — some onyxes, certain quartzites, thin marbles — and it changes how the material must be handled, transported and supported. Resin on the reverse can indicate a stone that has been stabilised, which is fine, but you should know.
Run a finger along every edge. Crumbly, chipped arrises suggest a brittle stone that will be unforgiving on a slim edge detail or a hob cut-out. Then measure the thickness at all four corners. Calibrated stone should be consistent; uncalibrated stone can vary enough to complicate a butt joint or a flush inset. If the sample is 20 mm and the project needs 30 mm, ask for a sample at the specified thickness — the edge profile and the weight per square metre are not the same conversation.
4. Test the surface with four small checks
None of these replace a fabricator's assessment, but each takes a minute and tells you something real. Use an inconspicuous corner.
- The water drop. Leave a drop of water on the unsealed face for ten minutes. If it sits proud, the stone is dense; if it darkens and spreads, it is absorbent and will need sealing and a sensible conversation about red wine and oil.
- The acid drop. A drop of white vinegar or lemon juice on marble, limestone or travertine will fizz faintly — that is calcium carbonate reacting. It is a useful reminder that these stones etch, and that a polished finish will show every ring and splash.
- The scratch check. Drag a steel nail lightly across a hidden area. If it leaves a bright grey line, the stone is softer than you assumed. Quartzite and granite will shrug it off; soapstone will not.
- The rub. Wipe the face with a white cloth. Any pigment, dust or wax on the cloth tells you the sample has been doctored for display.
5. Understand the finish and how it will age
Finish is not a detail; it is half the design. Polished surfaces close the stone somewhat, so a spill sits on top for a moment longer and dark colours read almost wet. Honed and brushed surfaces are more open and more forgiving underfoot, but they stain more readily and show fingerprints less. Leathered and sandblasted finishes hide scratches beautifully and are excellent on floors and outdoor paving, where a polished face would be a hazard.
Ask two blunt questions: is the finish on this sample the finish I will receive, and is a sealer applied at the factory or on site? Samples are sometimes sealed for handling, or finished by hand in a way the production line will not replicate. Sealer is not a waterproof coat, by the way — it buys you time, not immunity, and it needs renewing.
6. Ask about batch variation and reserve material
Every block is different. Two samples of the same stone from different bundles can look like distant cousins, and that is normal. Ask for the block or bundle reference and, ideally, a second sample from a different bundle so you can see the honest range rather than the prettiest one.
Then protect the project. Reserve the slabs you have actually seen, and get the bundle reference written onto the quotation and the order. Ask what happens if you need two extra slabs in six months: will they come from the same block, and if not, what will the difference look like? Order a sensible margin of extra material from the same batch, agreed with your fabricator, and keep the offcuts. A stone that disappears from the market mid-project is a design problem you cannot draw your way out of.
7. Write it down before the sample goes back in the drawer
Label the back of the sample with a strip of tape and a permanent marker: supplier, stone name, finish, thickness, bundle reference, date and the project it is for. Keep two — one for the studio shelf, one to leave with the client — because the sample that gets lost is always the approved one.
Then translate what you have learned into the specification itself. Name the finish and thickness, describe the edge, state the layout direction and whether slabs are book-matched, and attach a photograph of the approved slab. One short paragraph here prevents most of the arguments that follow on site. Your fabricator, stonemason and installer are the people to confirm the final installation and sealing details for the particular stone — they will see what the sample cannot show you.
Photo: Edward Jenner / Pexels